“The best camera is the one you have with you.” -Chase Jarvis
Everyone carries a phone with them, those phones come with cameras, and those cameras are good. I owned the iPhone 11 Pro from 2019—2023, and through those years I took thousands of photos. We’re all taking photos with our phones now, and have largely become desensitized to their presence. Whipping out your phone to take a picture to share on social media is easy, it’s fast, and it doesn’t provoke the same nervousness in subjects that holding a DSLR or a Mirrorless camera does. Considering people’s primary camera is now a smartphone, with Apple alone shipping an estimated 234.6 million units1, it’s important to take them seriously, understand how we can use them, and push past the mindset of it being “just a phone”.
Three Lenses, Three Sensors
The iPhone 11 Pro came with three rear cameras. Interestingly, not every lens in this setup have the same sized sensor, and not all were focusable or could even shoot RAW!
- The Wide (26mm)
- The default lens, and strongest performer. Used for the majority of shots in this post. Outputs RAW.
- The Ultrawide (13mm)
- Known as the 0.5x camera online. Fixed focus, but gets wholly unique shots. No RAW output.
- The Telephoto (52mm)
- Poor low light performance, but a bit more reach than the main camera. Outputs RAW.
The Main Camera
The sharpest lens combined with the largest sensor (1/2.55" inch), this was my go-to for 95% of my shots. Minimum focus distance wasn’t shabby at 4.7 inches either. Later models see their minimum focus distance go all the way up to 7.8 inches, nearly doubling the length you have to be from your subject. Apple’s solution is to switch to the Ultrawide for you with its improve macro abilities, but the behavior can be annoying if you don’t know whats happening and things seem to switch on you. The FOV changes and the optical characteristics are different so it can be annoying.
For this generation, the main camera was the best one to use. Resolution coming in at 12MP, the lens was easily able to outresolve what the sensor was capable of capturing, which made for some usable cropping ability. Image Quality from the main lens was so good that at low light, your iPhone would sometimes just take a crop of the main sensor’s image when you were trying to take a photo with your Telephoto lens! The only way to know for sure would be to check the metadata in the photo and see what the resolution was. Anything lower than 12MP? It’s a crop from the main camera.
The Ultrawide Camera
This was Apple’s first go at putting Ultrawide optics camera on an iPhone. As with the rest of the cameras, feed the sensor enough light, and you can get quality images out of it. The lens was fixed-focus at this time, so all you had to do was hope the exposure was right and fire away. This means no images are tack-sharp, they’re just all mostly in focus. I wouldn’t bother with this camera at night, the sensor was too small and the optical performance wasn’t stellar either. No ability to save RAWs from the Ultrawide camera in the iPhone 11 either, but later generations added this feature. You could save TIFFs via third-party apps which gave good ability in post to edit exposure and colors.
The Telephoto
This is a 2x of the wide lens, bringing up to around a 50mm in Full Frame terms. Oddly enough, I couldn’t find any images worth sharing that I took with this lens. I think a combination of not being that much longer than the normal wide, combined with a slower aperture and a smaller sensor just made this overall unappealing. It wasn’t a big enough change from the default lens, and would completely fall apart in any challenging lighting conditions. A smaller sensor meant that even with the longer focal length you couldn’t get much separation between your subject and the background.
When Apple moved the telephoto from 2x to 3x in later generations they got it right. Big enough change combined with larger sensors made them worth using. But for this generation, unless you were shooting in bright light or outdoors it didn’t get me excited enough to want to use it.
Optical Image Stabilization
Taken at 1/15th of a second handheld
This iPhone has some pretty high performing optical image stabilization. If shooting in automatic mode, if you held the camera still, and the algorithm gods had deemed it so, I would find the iPhone shooting as slow as 1/60th of a second.
Shooting at 1/60th of a second produced images that were still sharp, and if you went into a third-party app like Halide and selected full-manual, you could get images that were sharp down to 1/15th of a second. Unfortunately in automatic mode the camera never got this low, which is a shame, since lower shutter speeds keep that ISO low and high ISO is where the image quality starts to suffer.
The RAWs
The RAWs out of this camera are finicky. Under good lighting, they can be quite easy to work with. In Capture One, they’re pretty easy to correct the basic flaws. Limited Dynamic range means you’ll need to bring down the highlights and up the shadows to get something looking more ’normal’ as a base, and there’s quite a bit of vignetting in the corners that needs to be corrected.
RAW vs Processed RAW vs HEIC
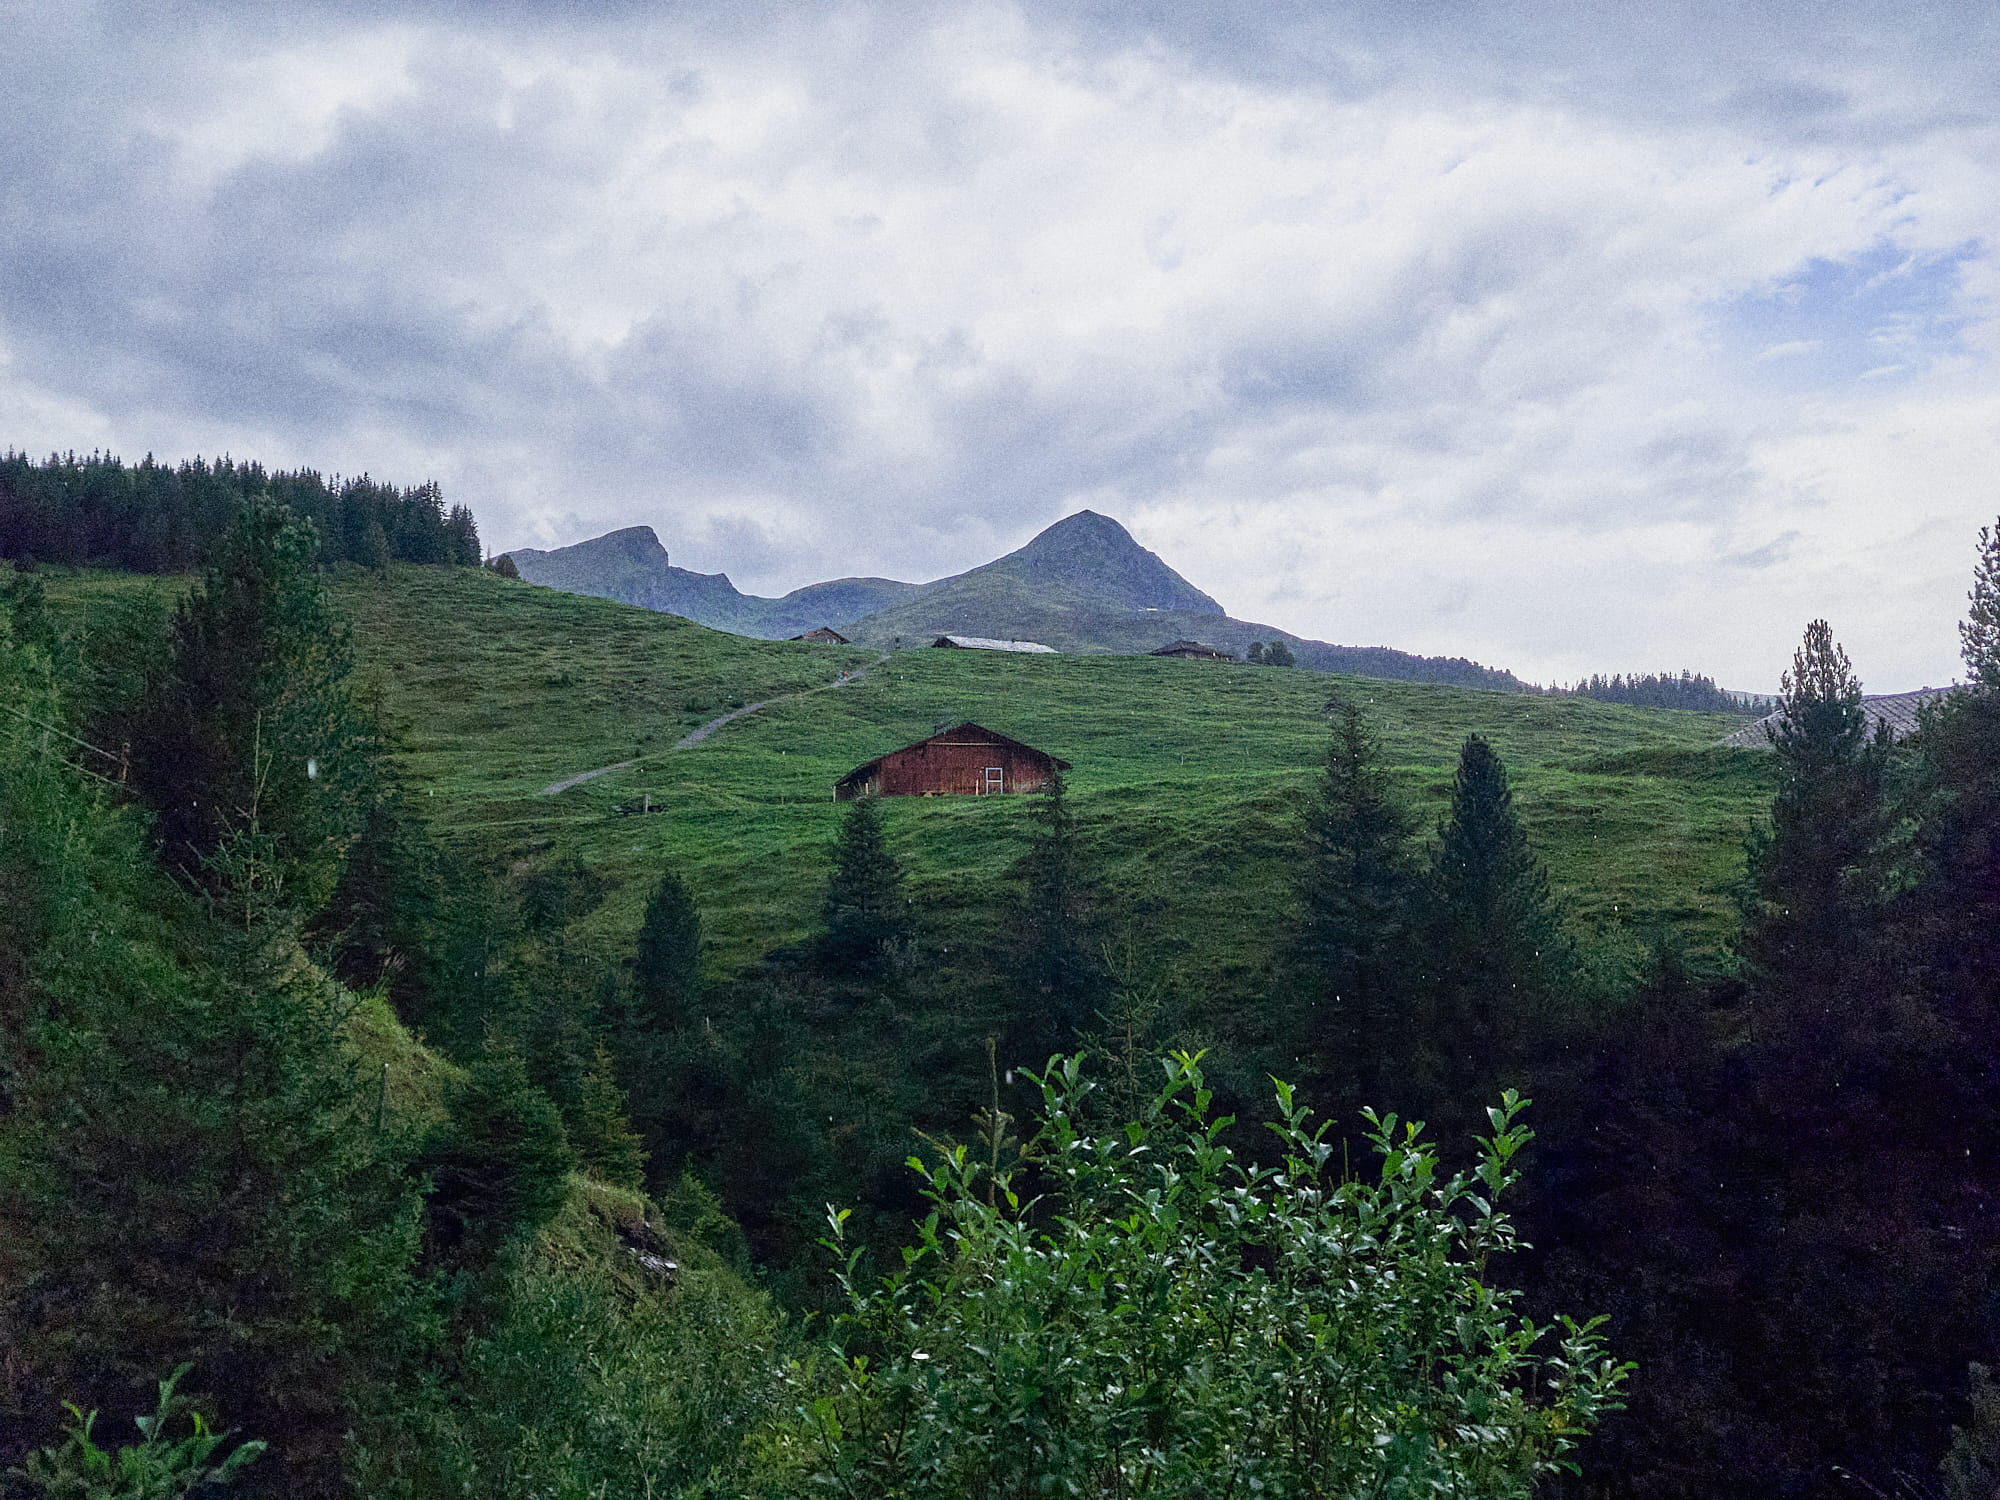
Raw imported into Capture One and exported with no adjustments
Raw imported and edited in Capture One
HEIC from Straight out of Camera
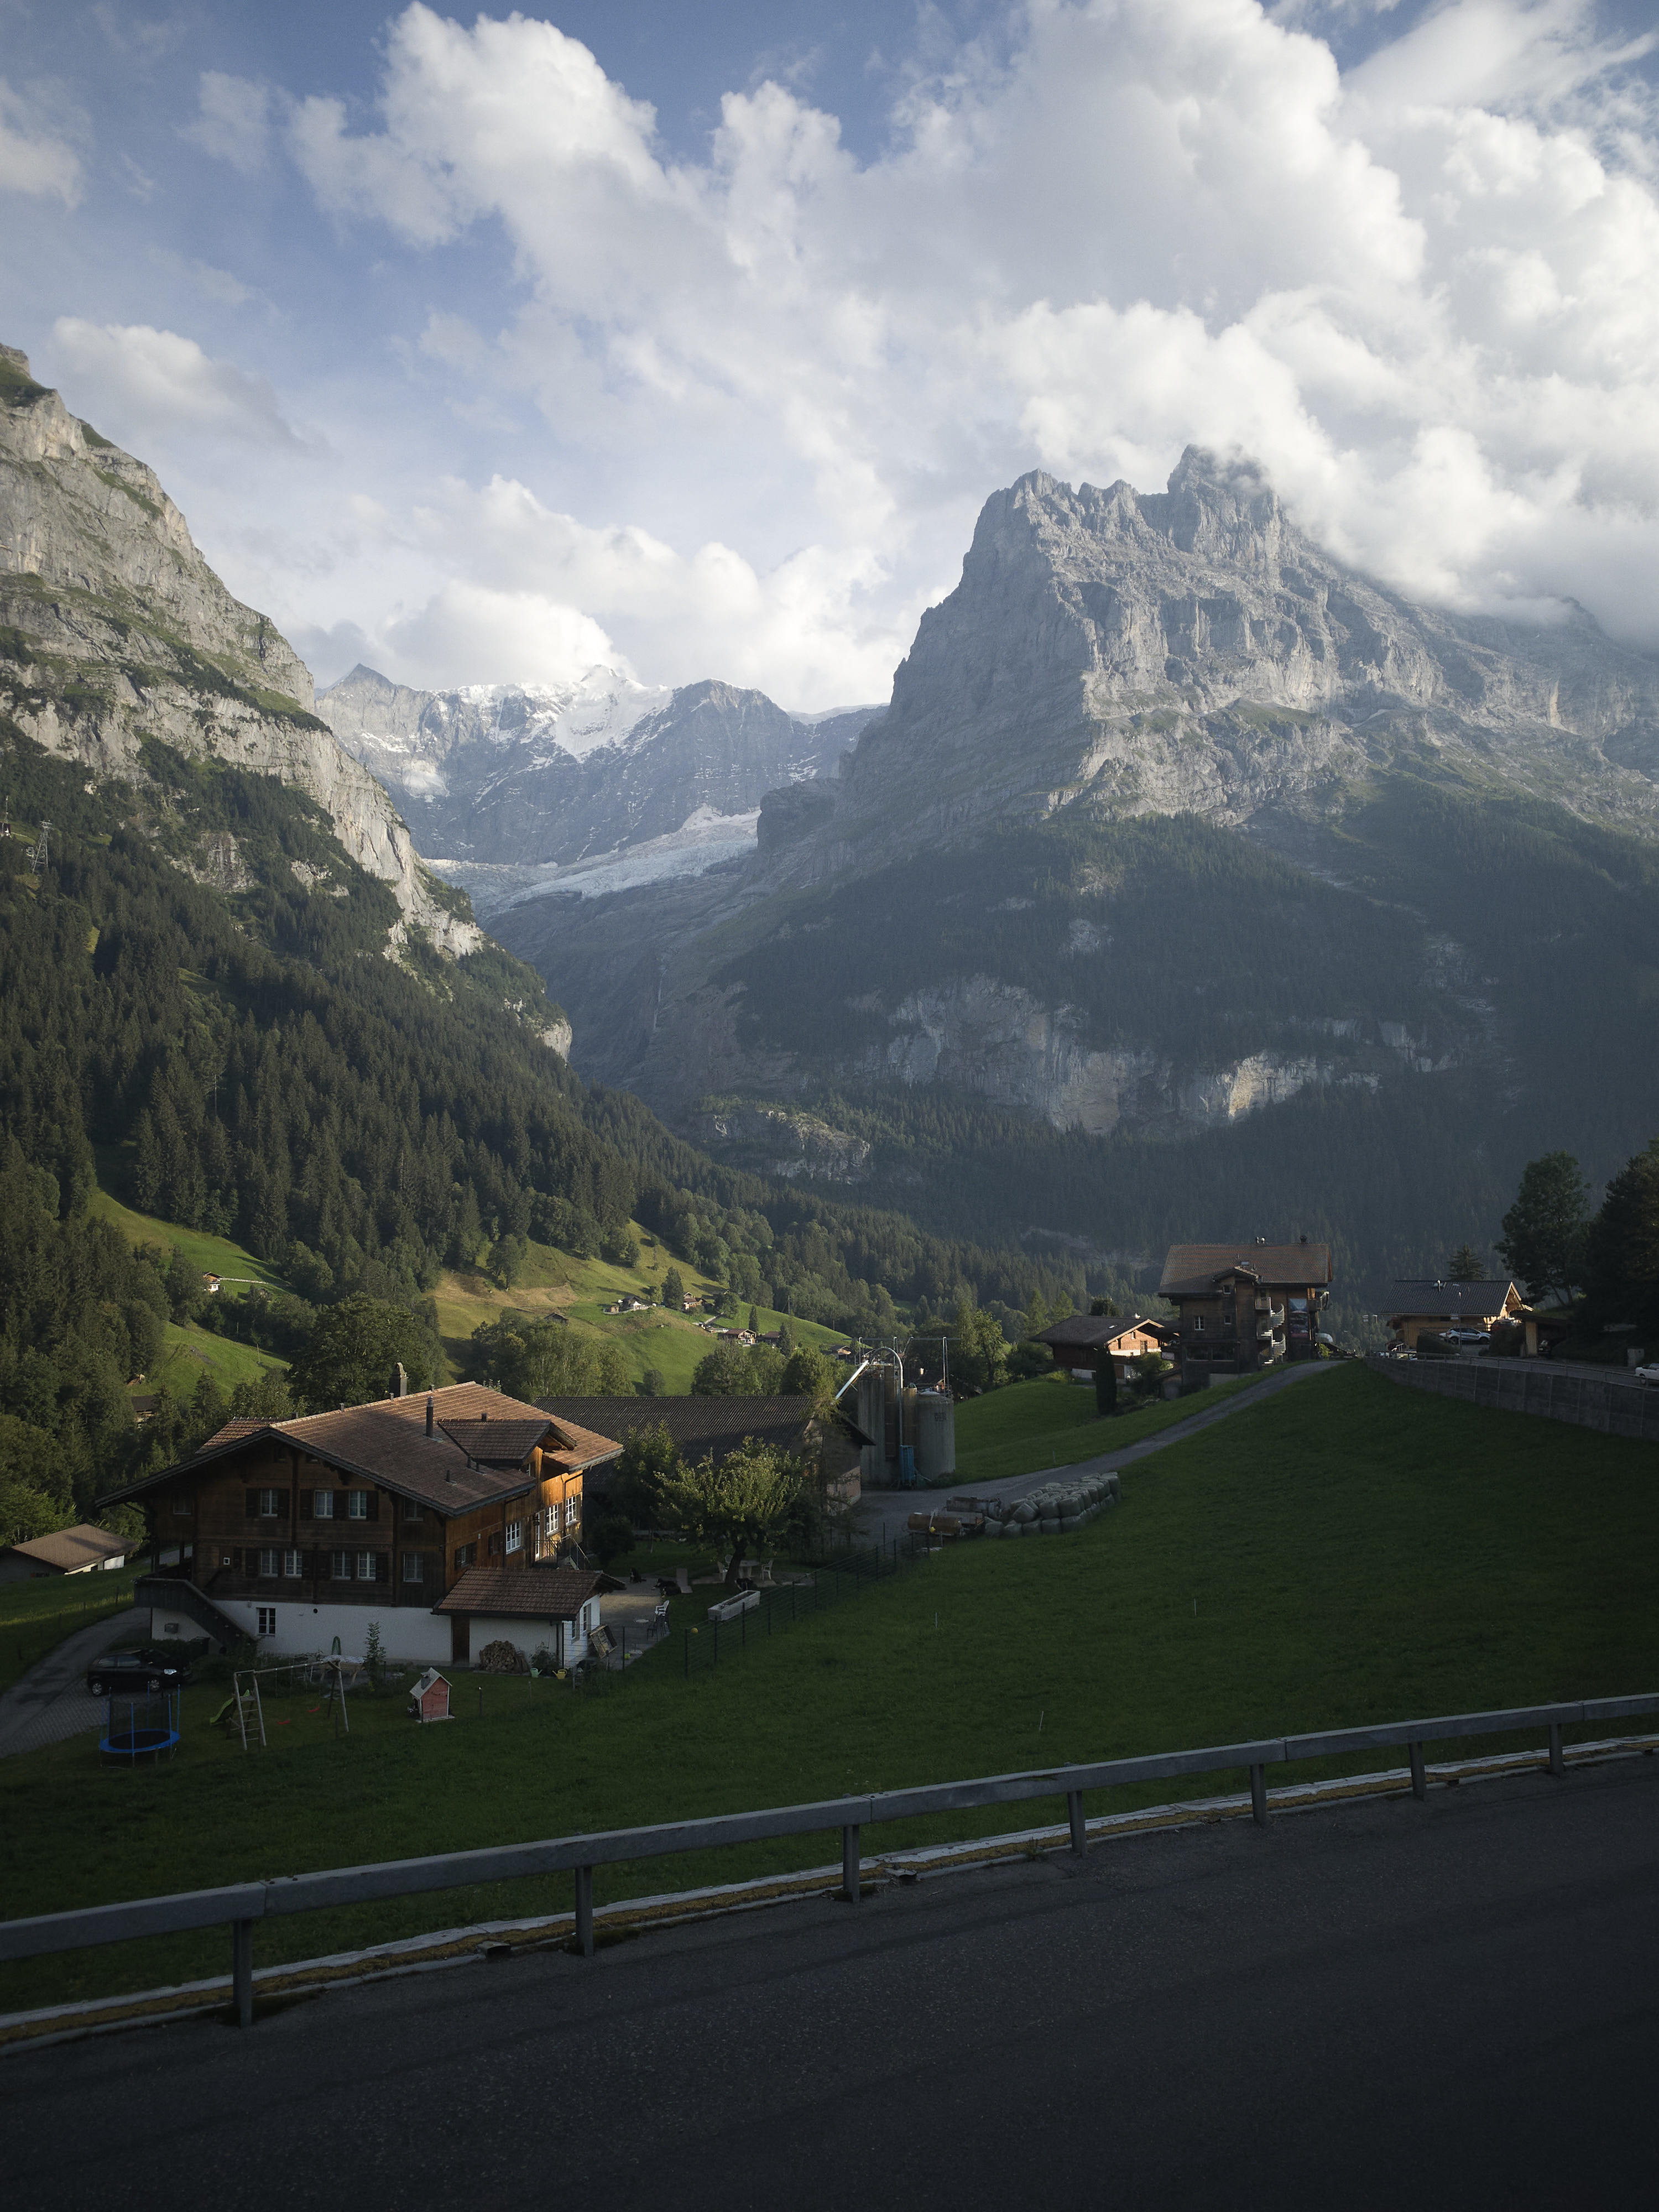
Here I tried to show that you can get a Raw image to look pretty close to the HEIC’s the camera puts out. It’s tricky to do it in camera, and you’ll need a third-party tool to really get close, but I prefer the look of the edited raw to the HEIC in this shot.
You lose some dynamic range, with the clouds going to white quicker than in the HEIC, but you get a more balanced look in the edited RAW I feel. I chose to get rid of the hazier look of the mountains in the background in this shot, but if you wanted to, keep the midtones of the image a little flatter and you could keep that hazy look too.
It’s almost impossible to take the RAWs and make them look like the SOOC images in anything but super flat lighting, but that’s because the iPhone is combining multiple shots taken with different exposures intelligently behind the scenes whereas the RAW is just that. One shot, and you get all the pixel data to mess around with.
Example Images Captured using Halide’s HEIC+RAW mode.
Straight Out of Camera (SOOC) Images
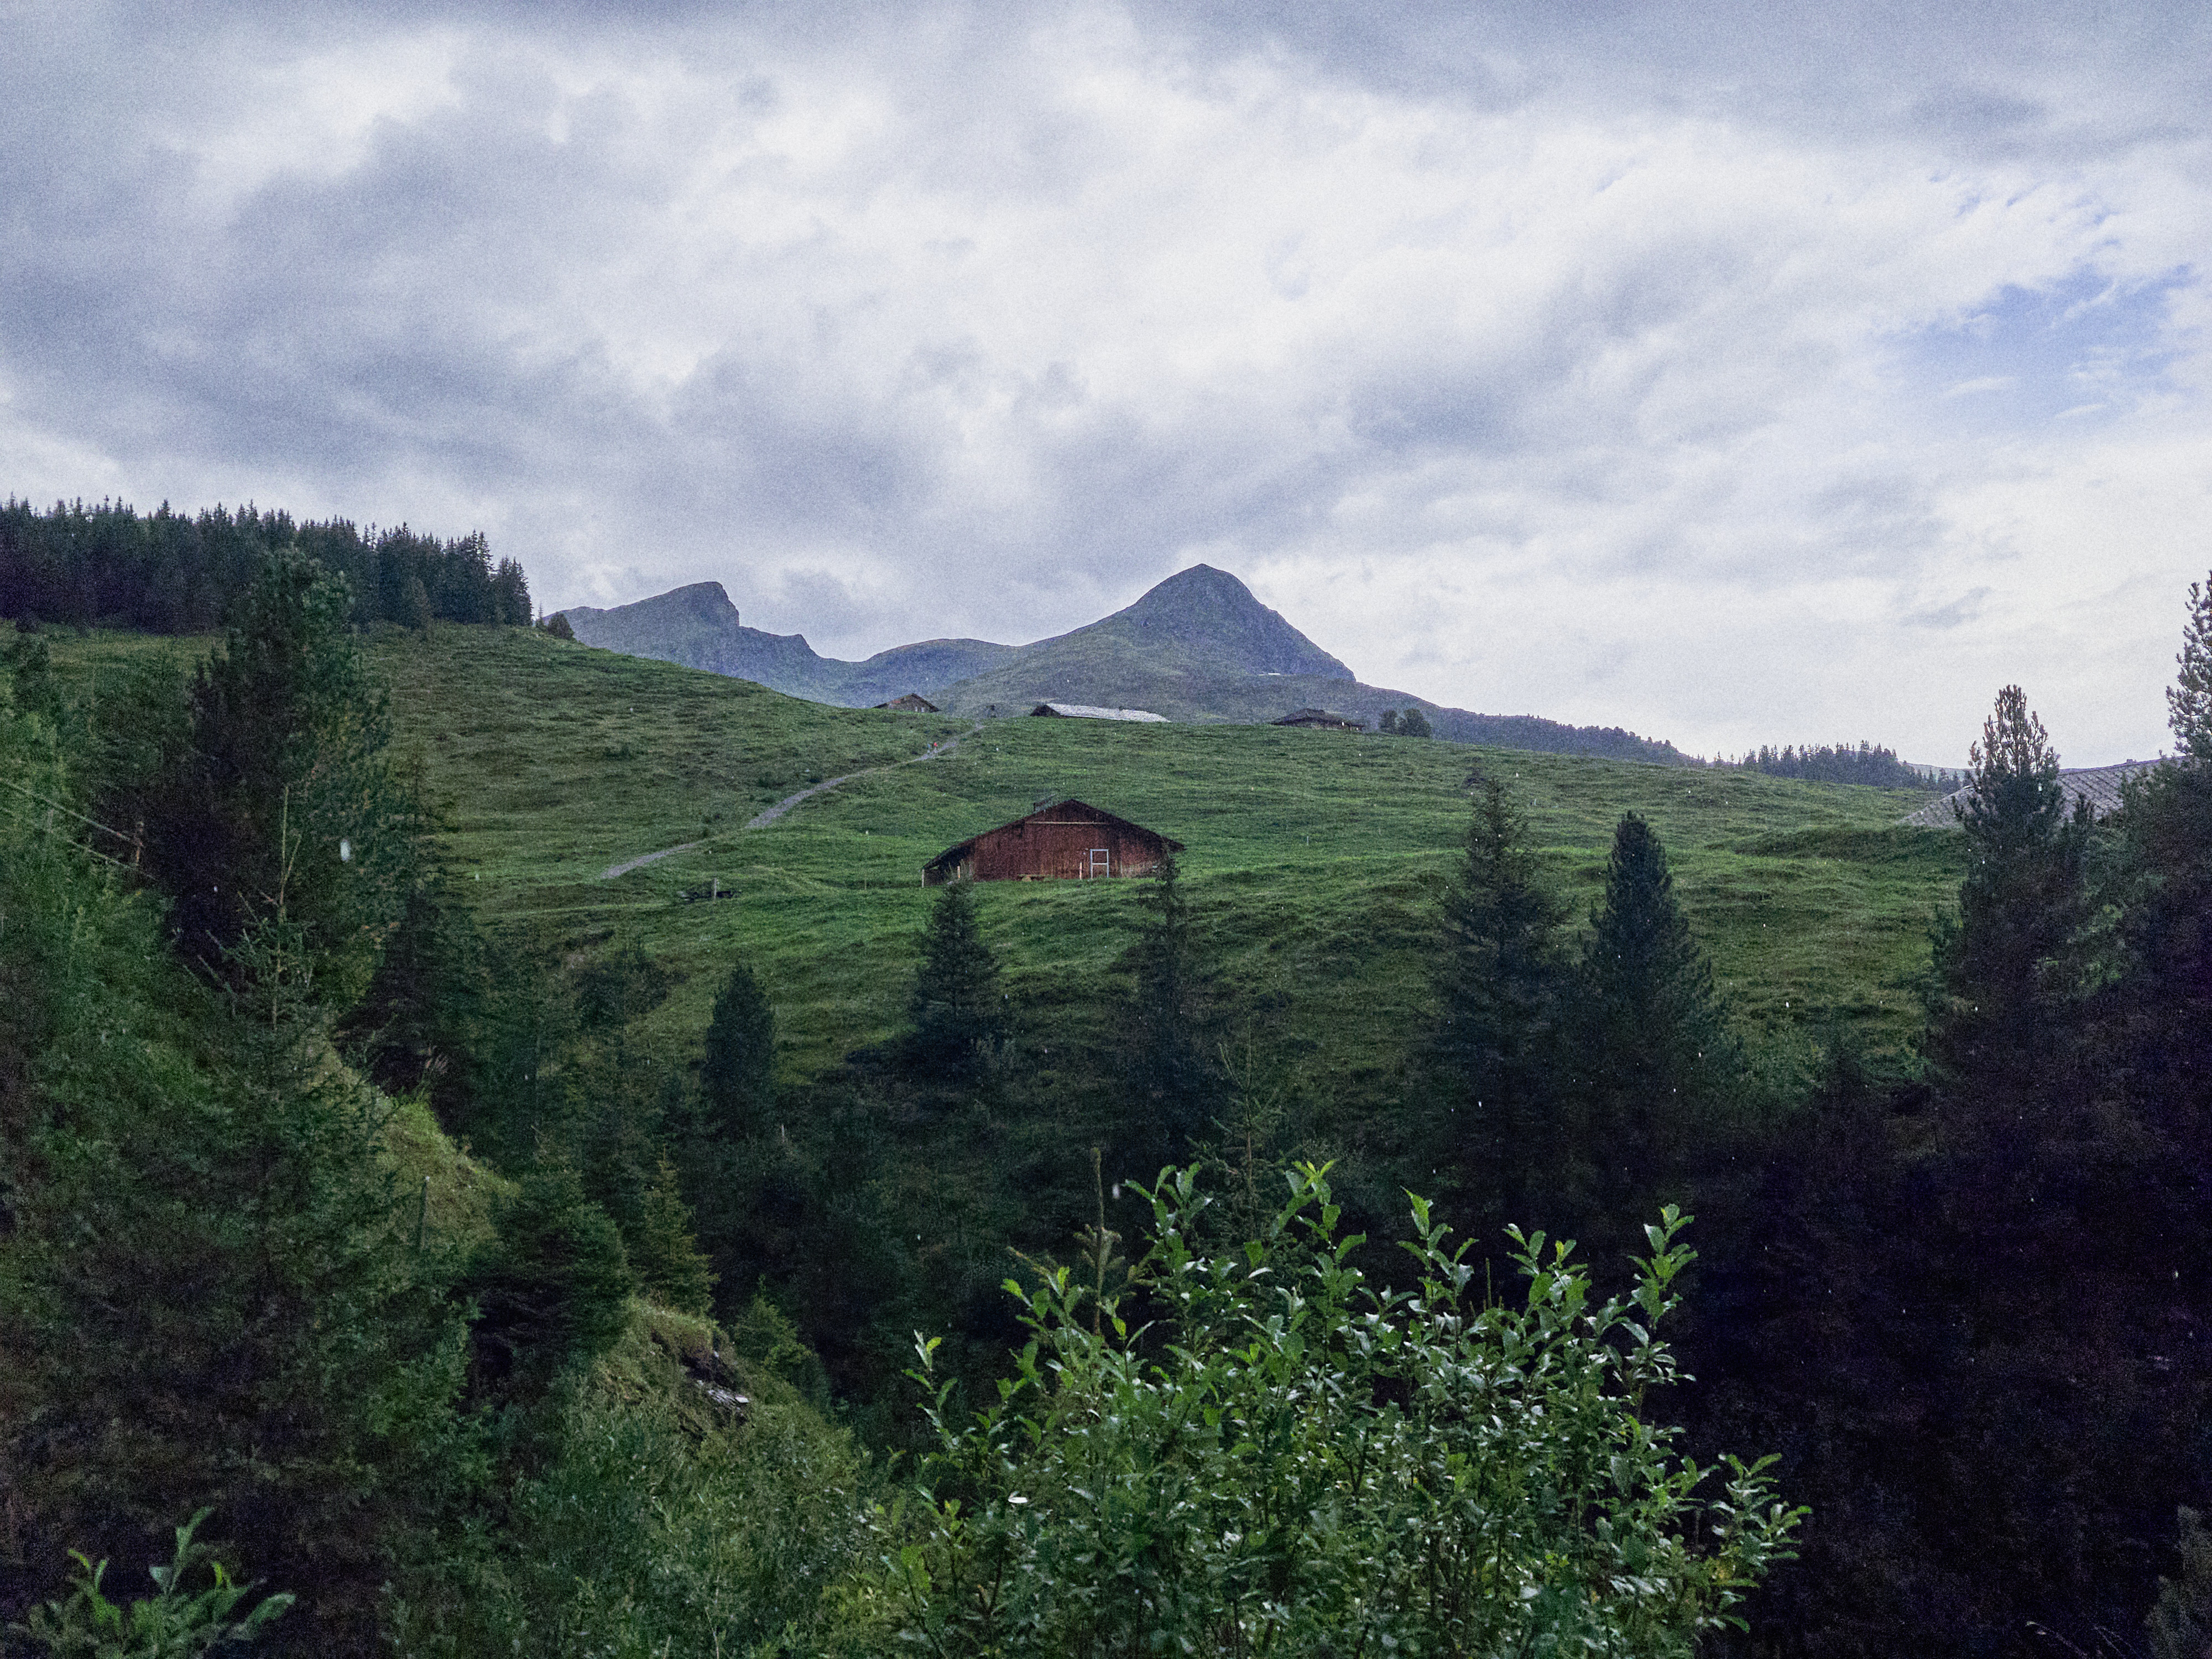
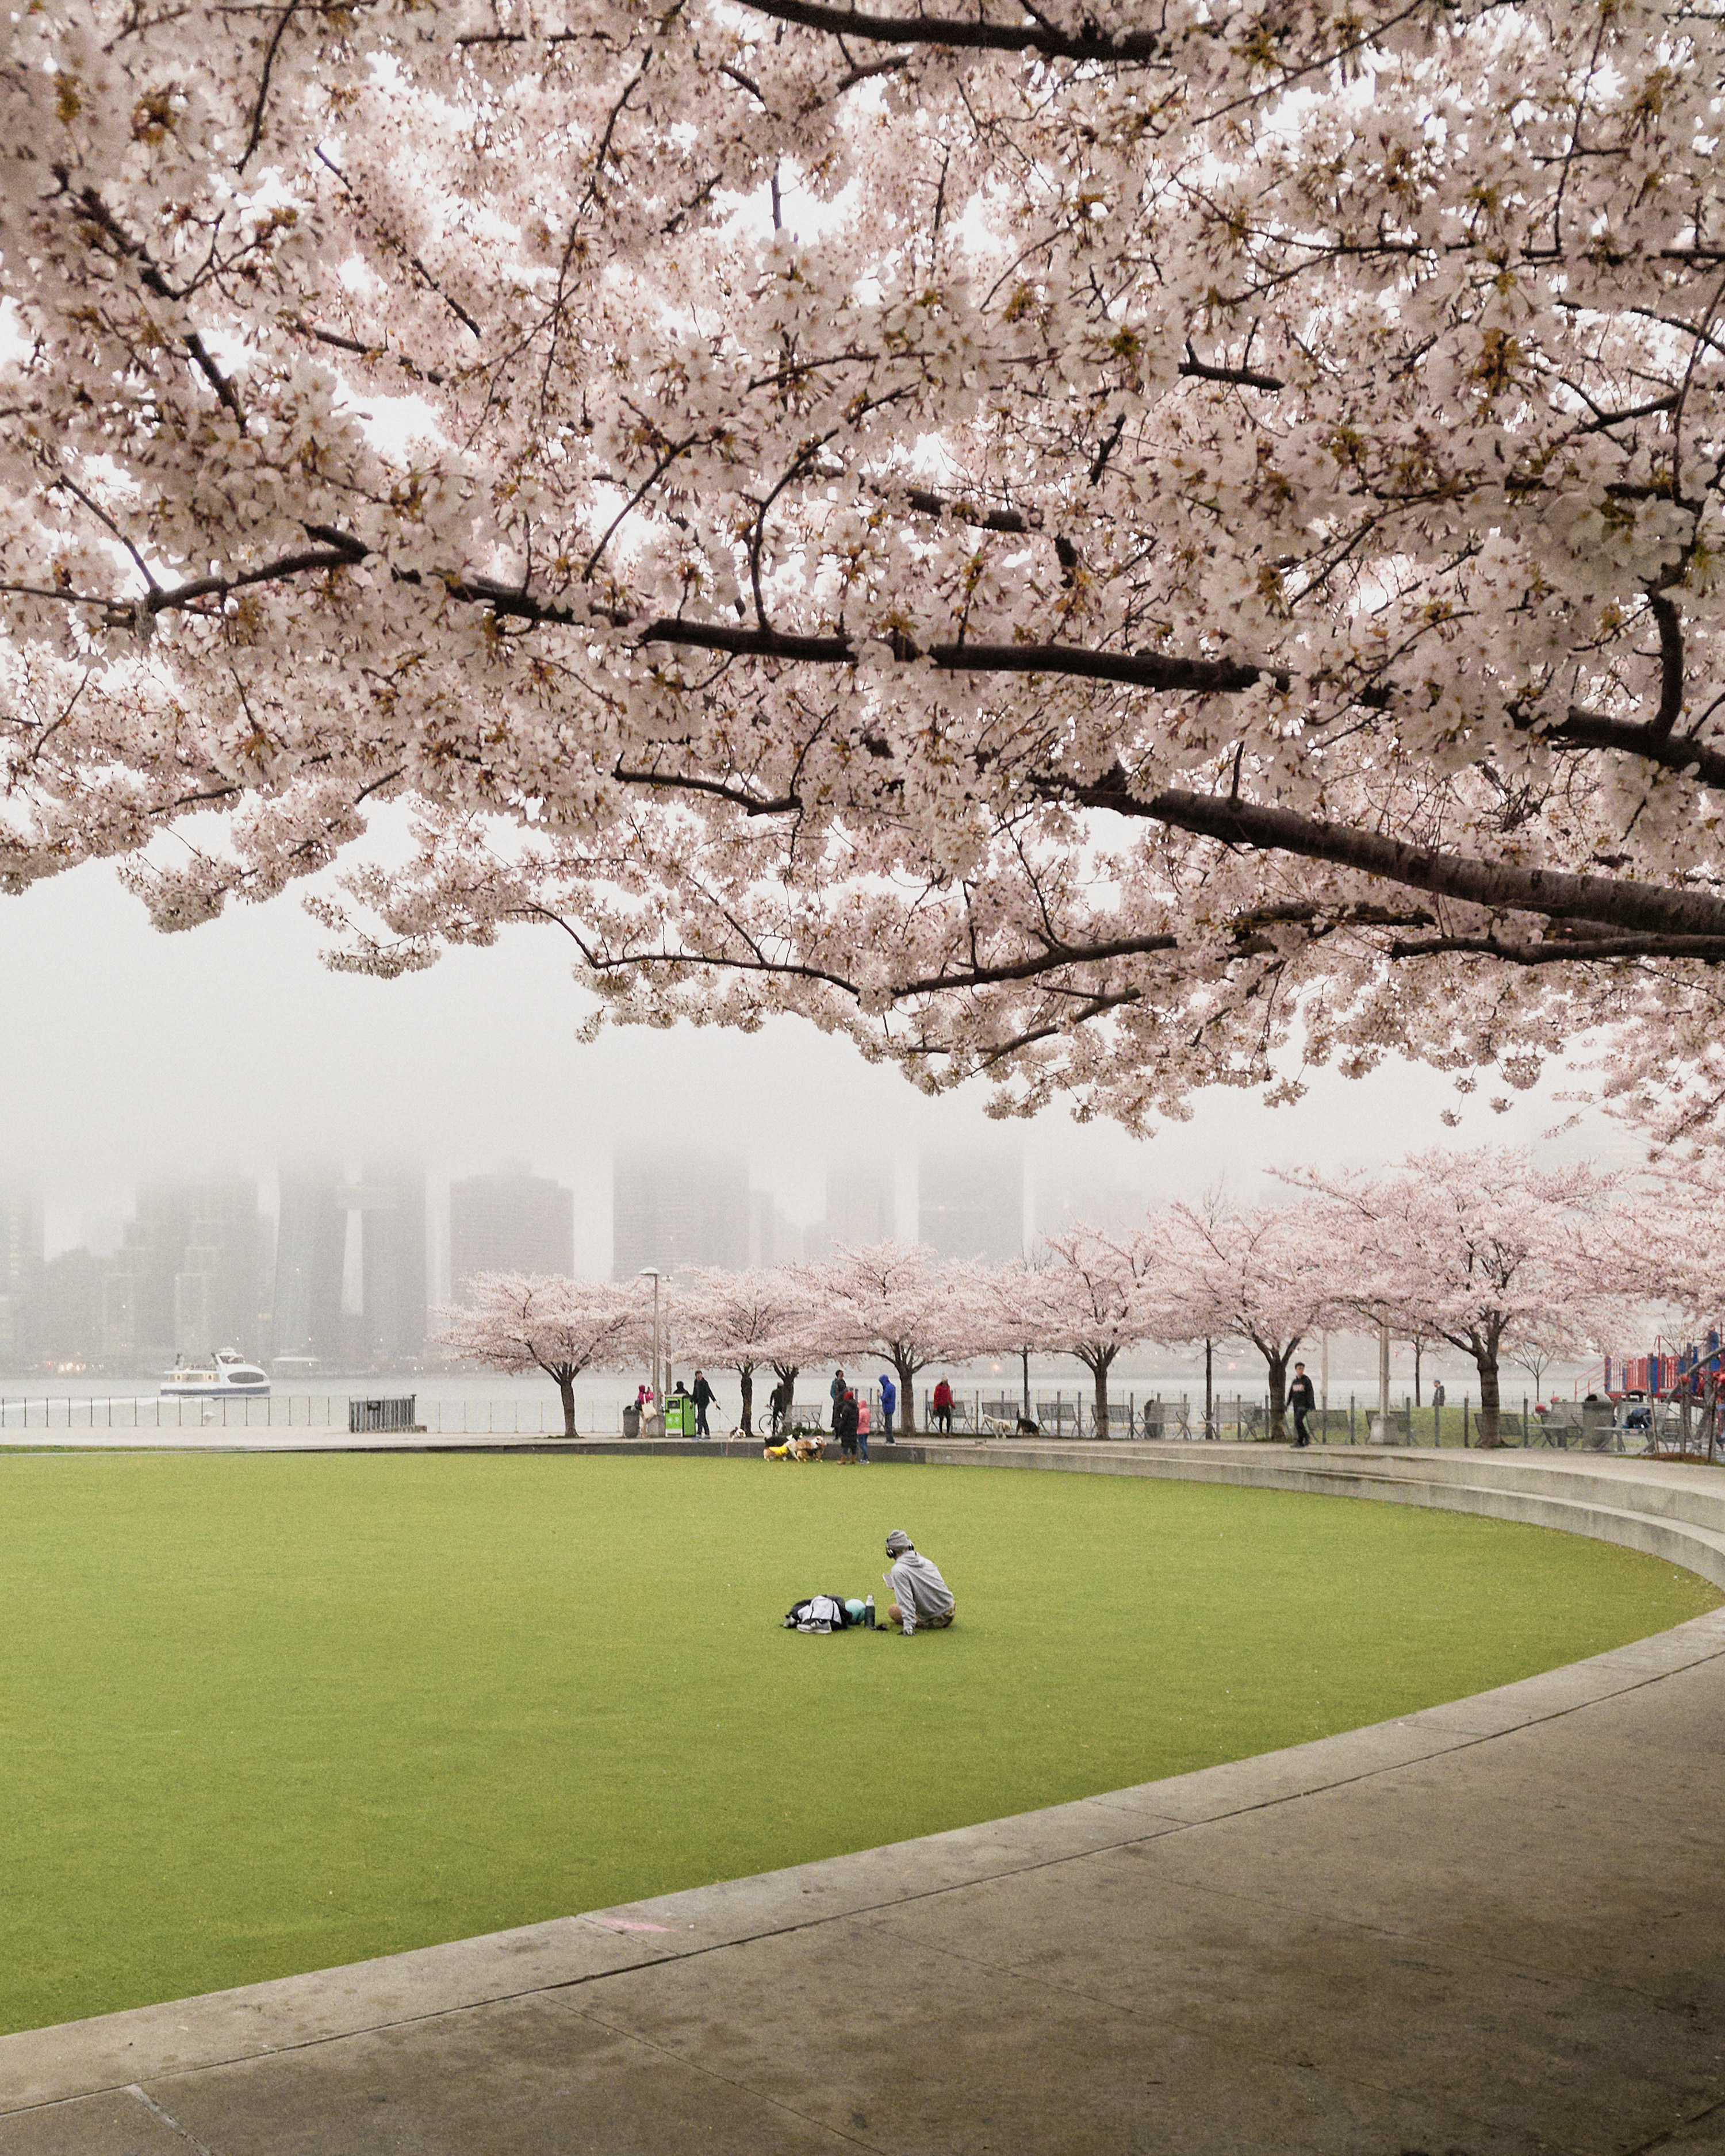
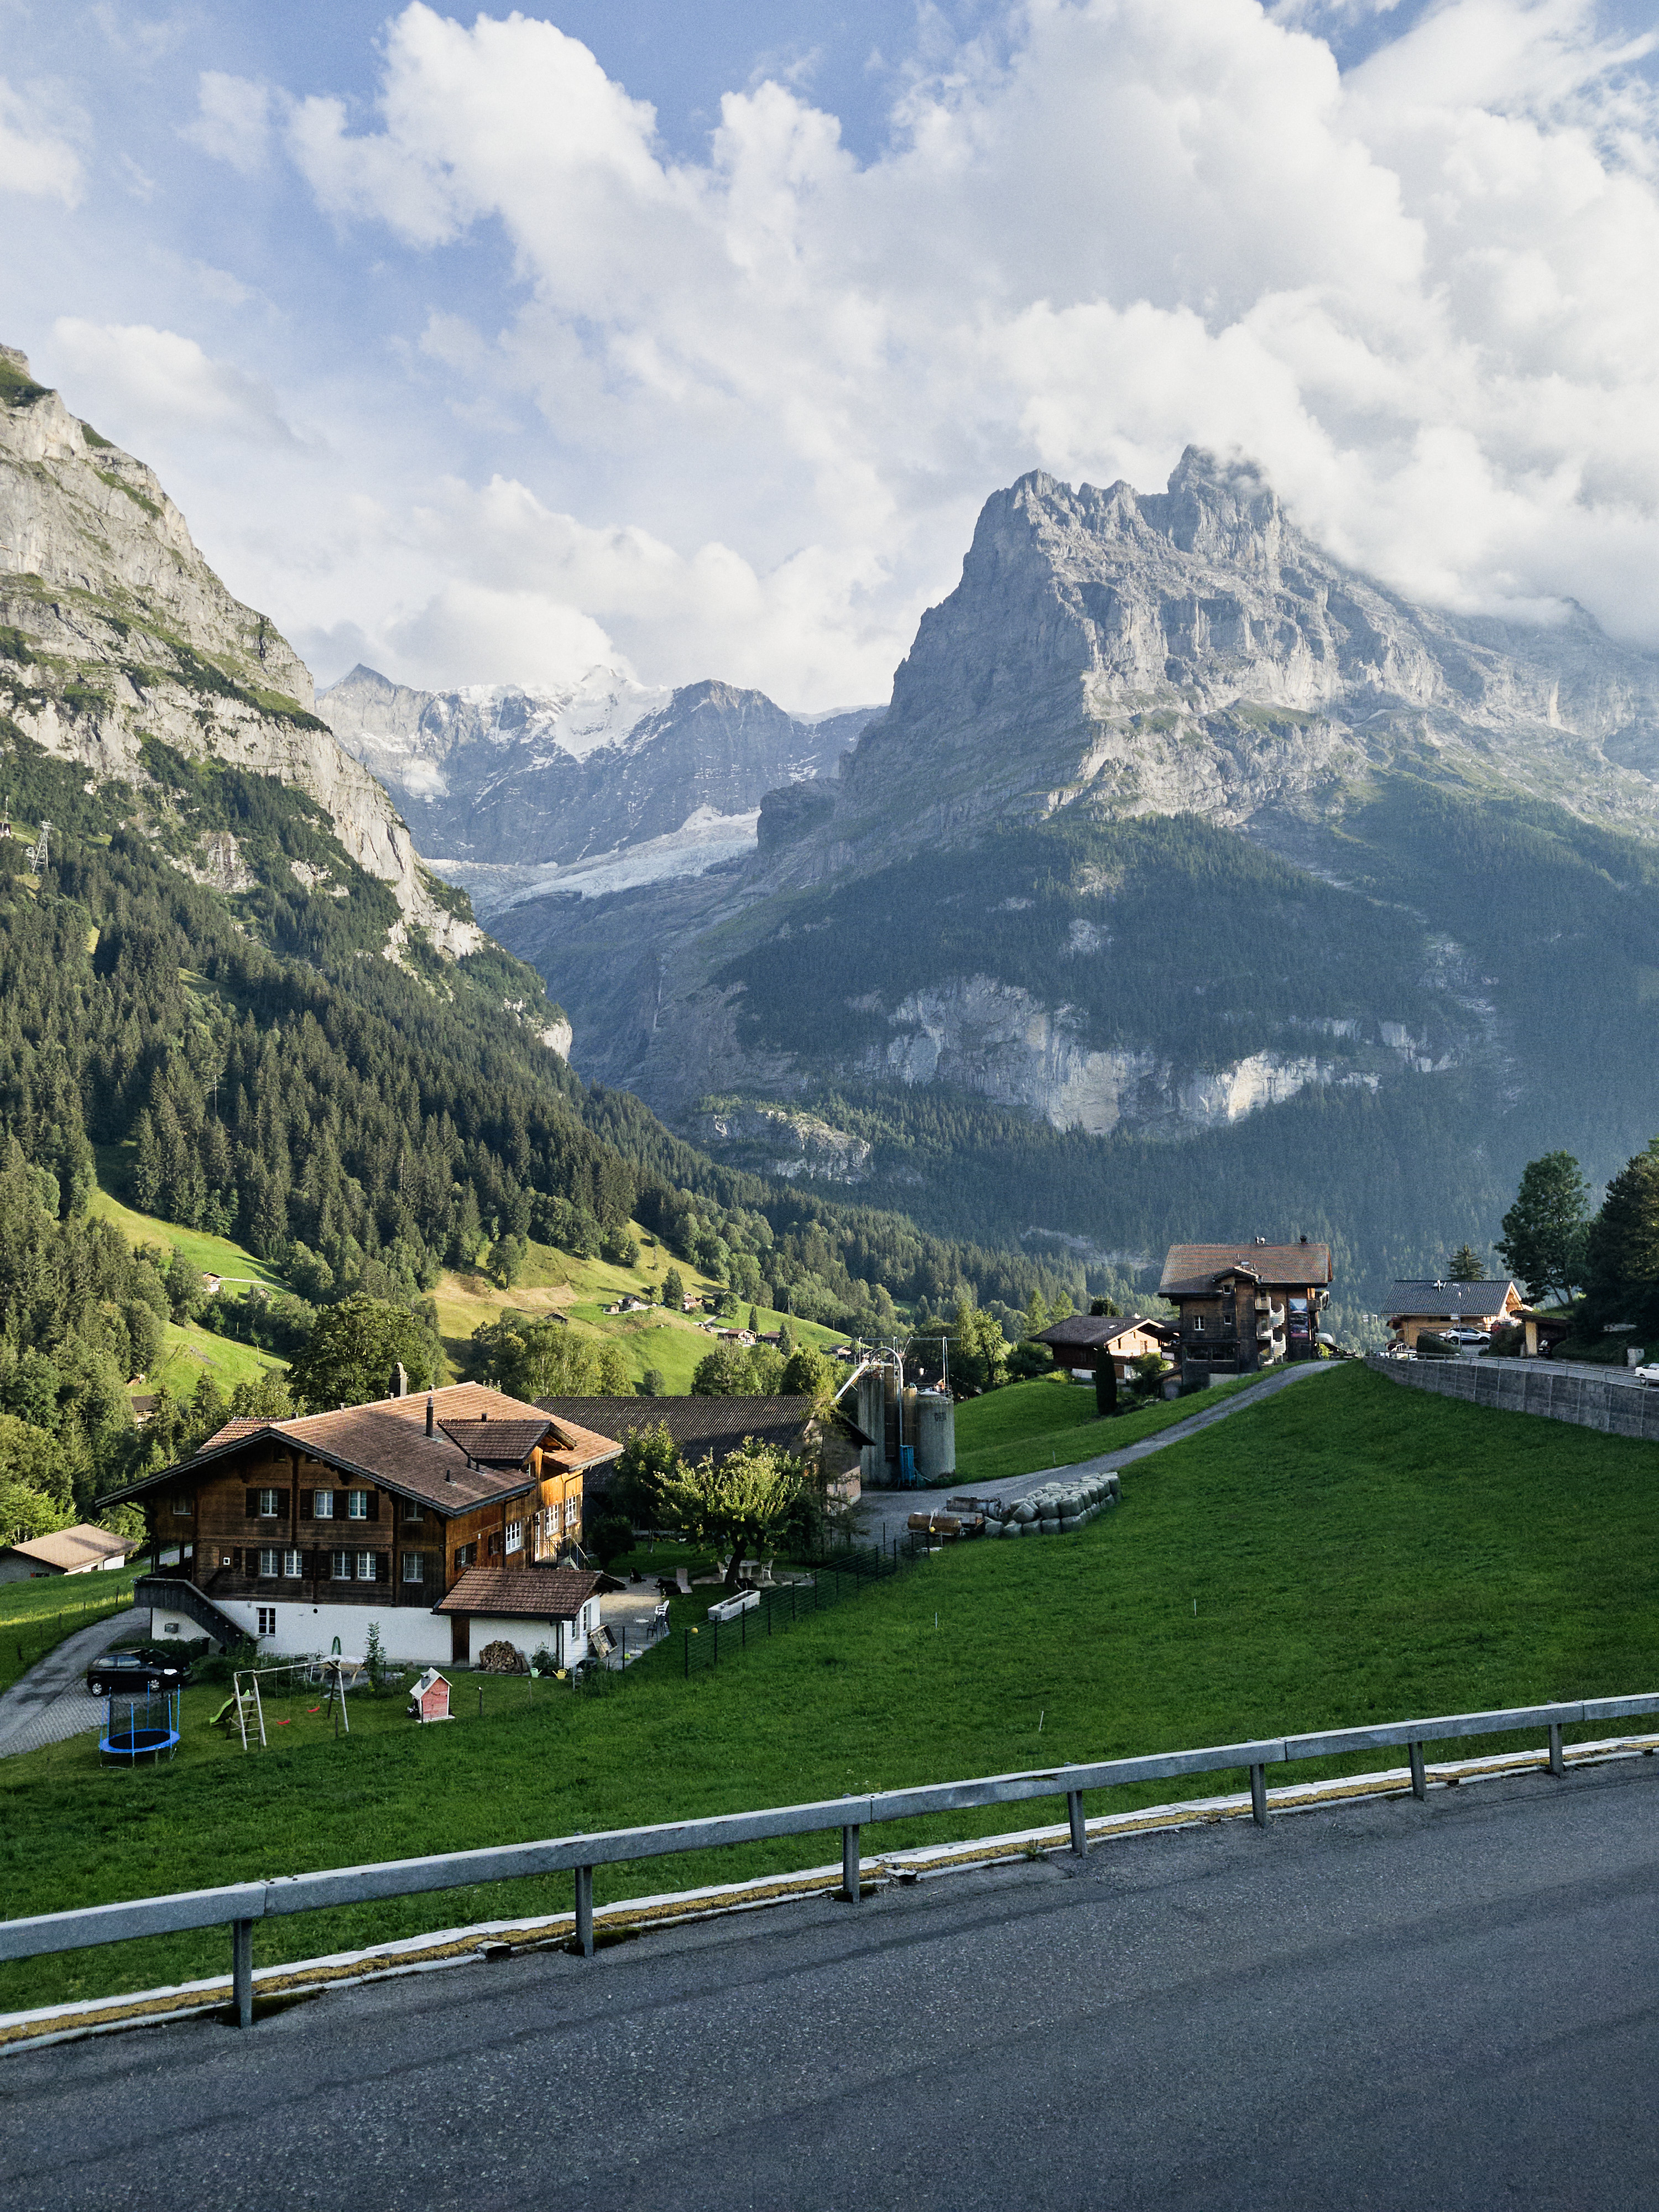
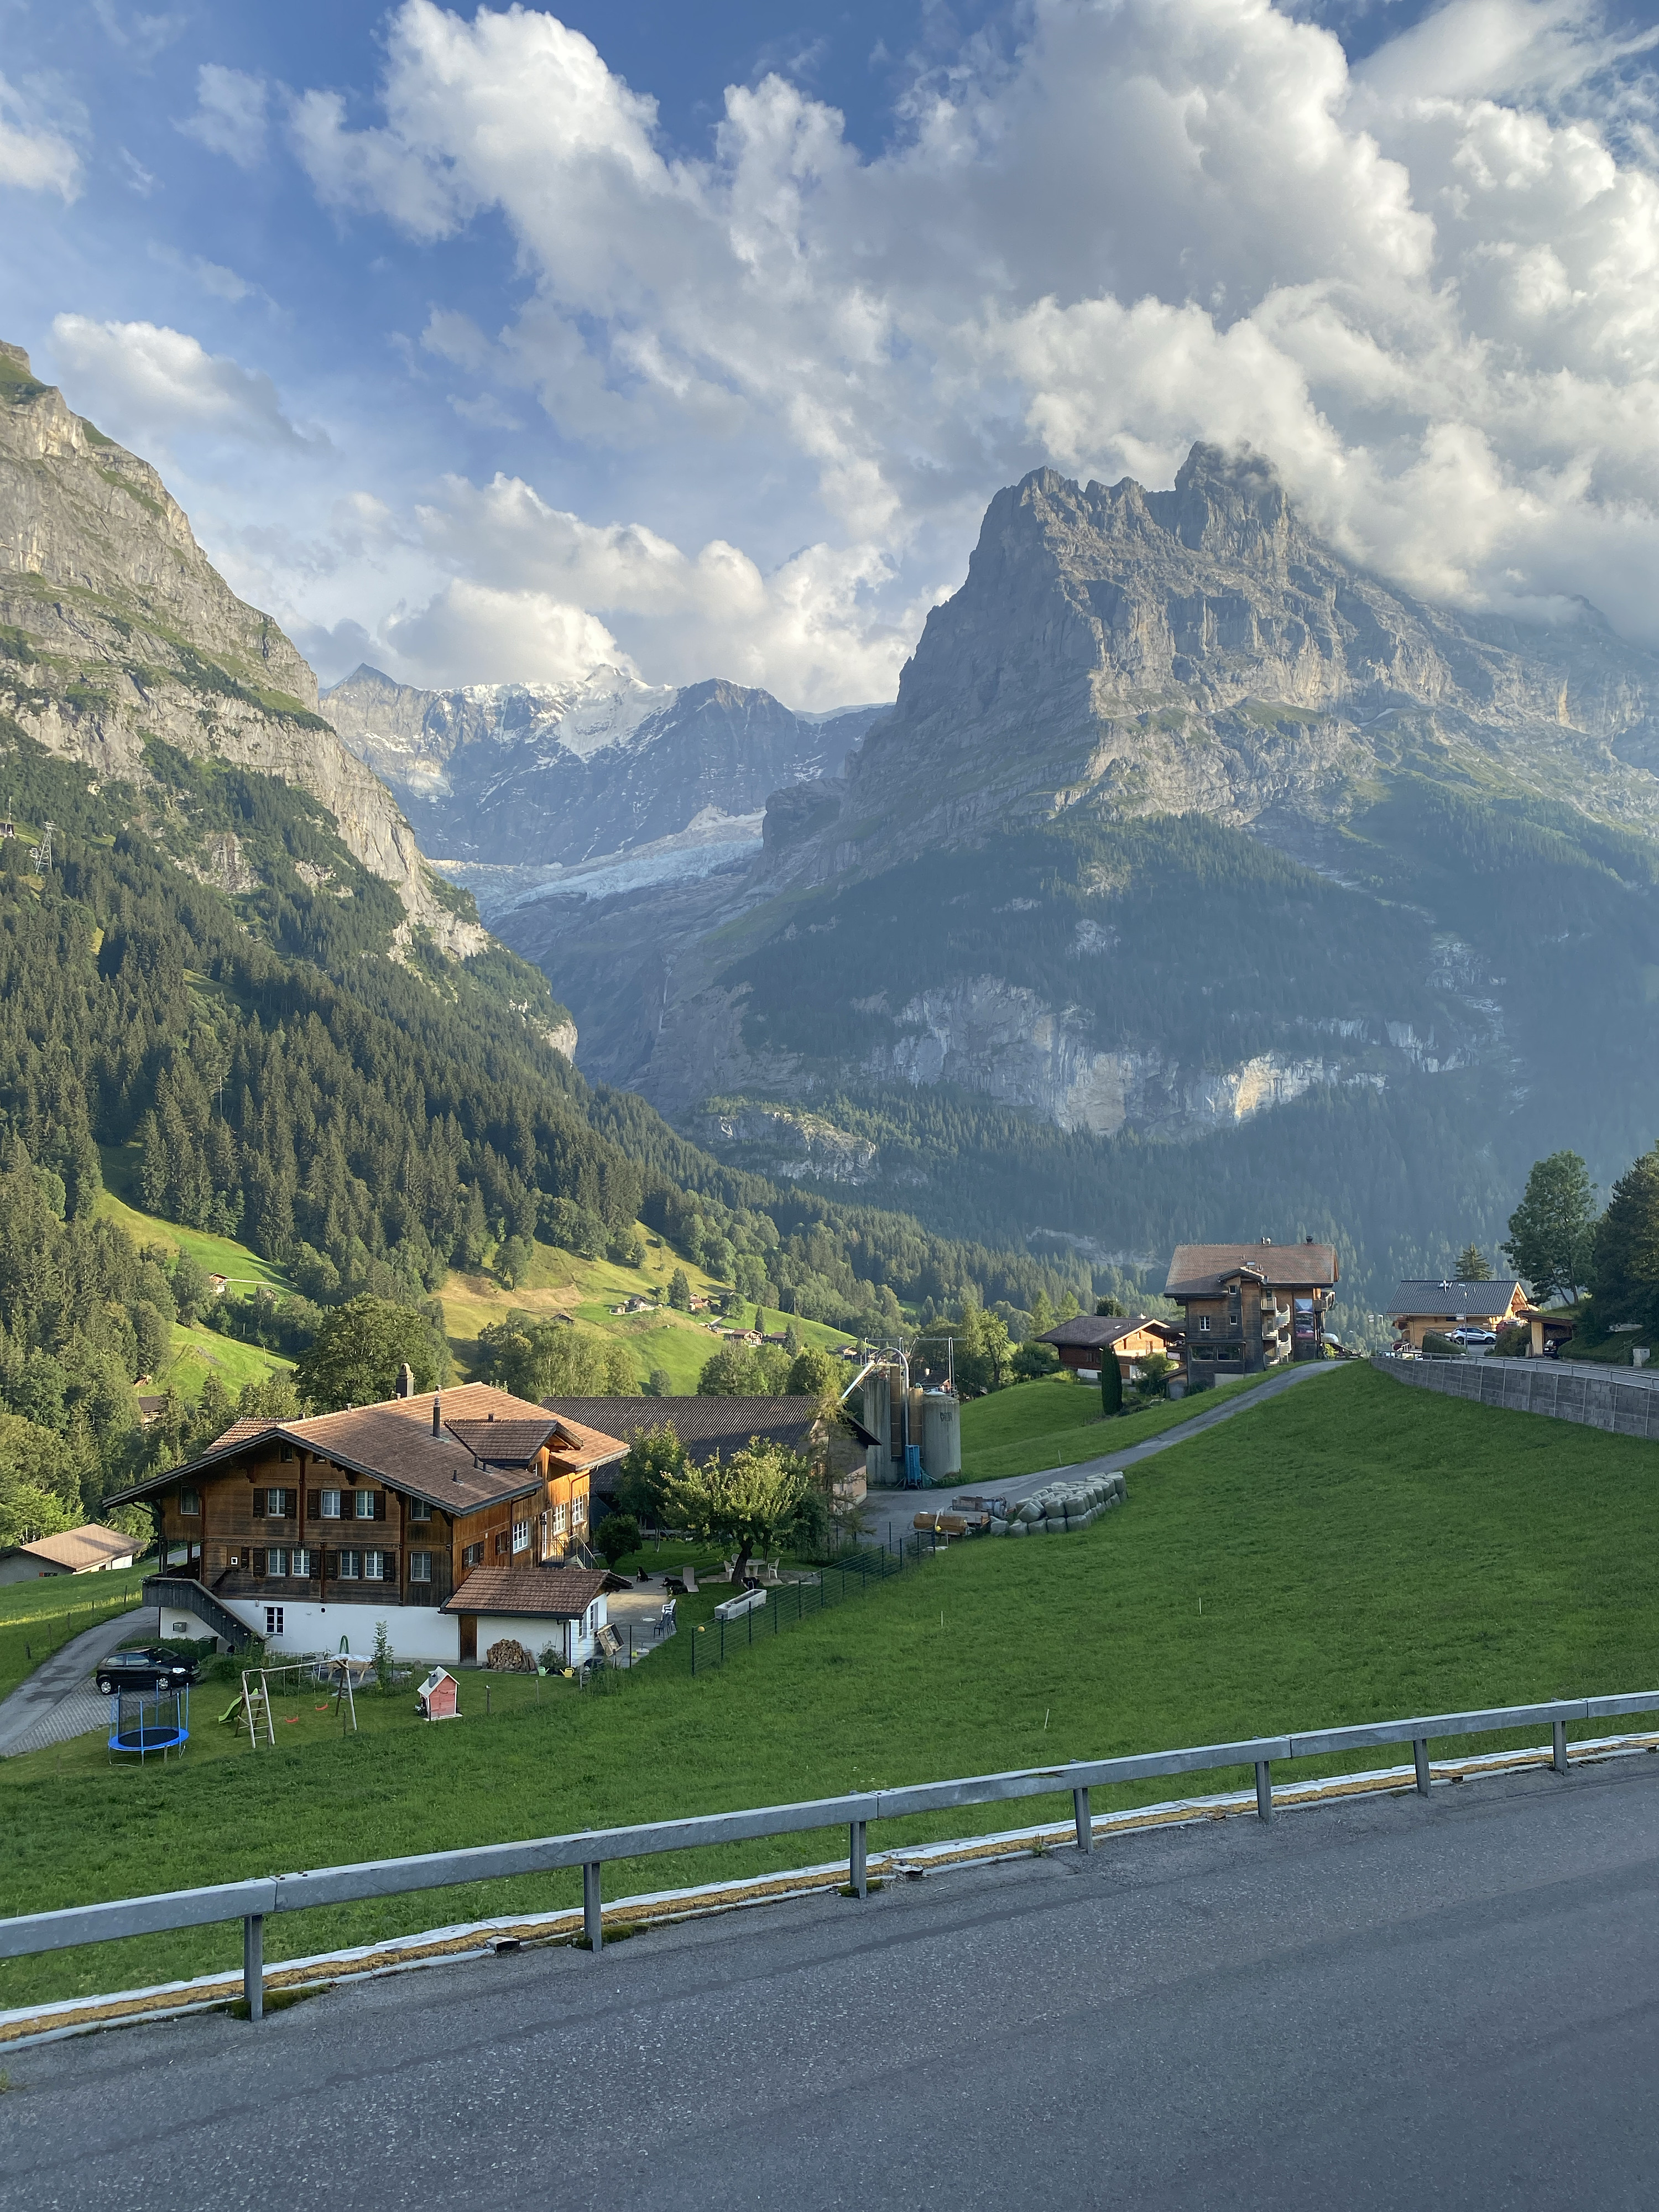
With good lighting, you can get really punchy images with good color and very little noise. Here are a couple of images with no editing, just straight out of camera.

I love the colors and details in these images. Colors are vivid without coming across as oversaturated, and there’s enough light so the phone doesn’t have to do aggressive noise reduction to smooth images out. Deep fusion2 does a good job of keeping the details on the jacket nice and sharp and well separated without giving too many oversharpening artifacts on other areas of the image. Relatively flat lighting on this overcast day means that the HDR didn’t have to work too hard to balance the exposure, pretty much a dream scenario for showing off this generation’s HDR capabilities.
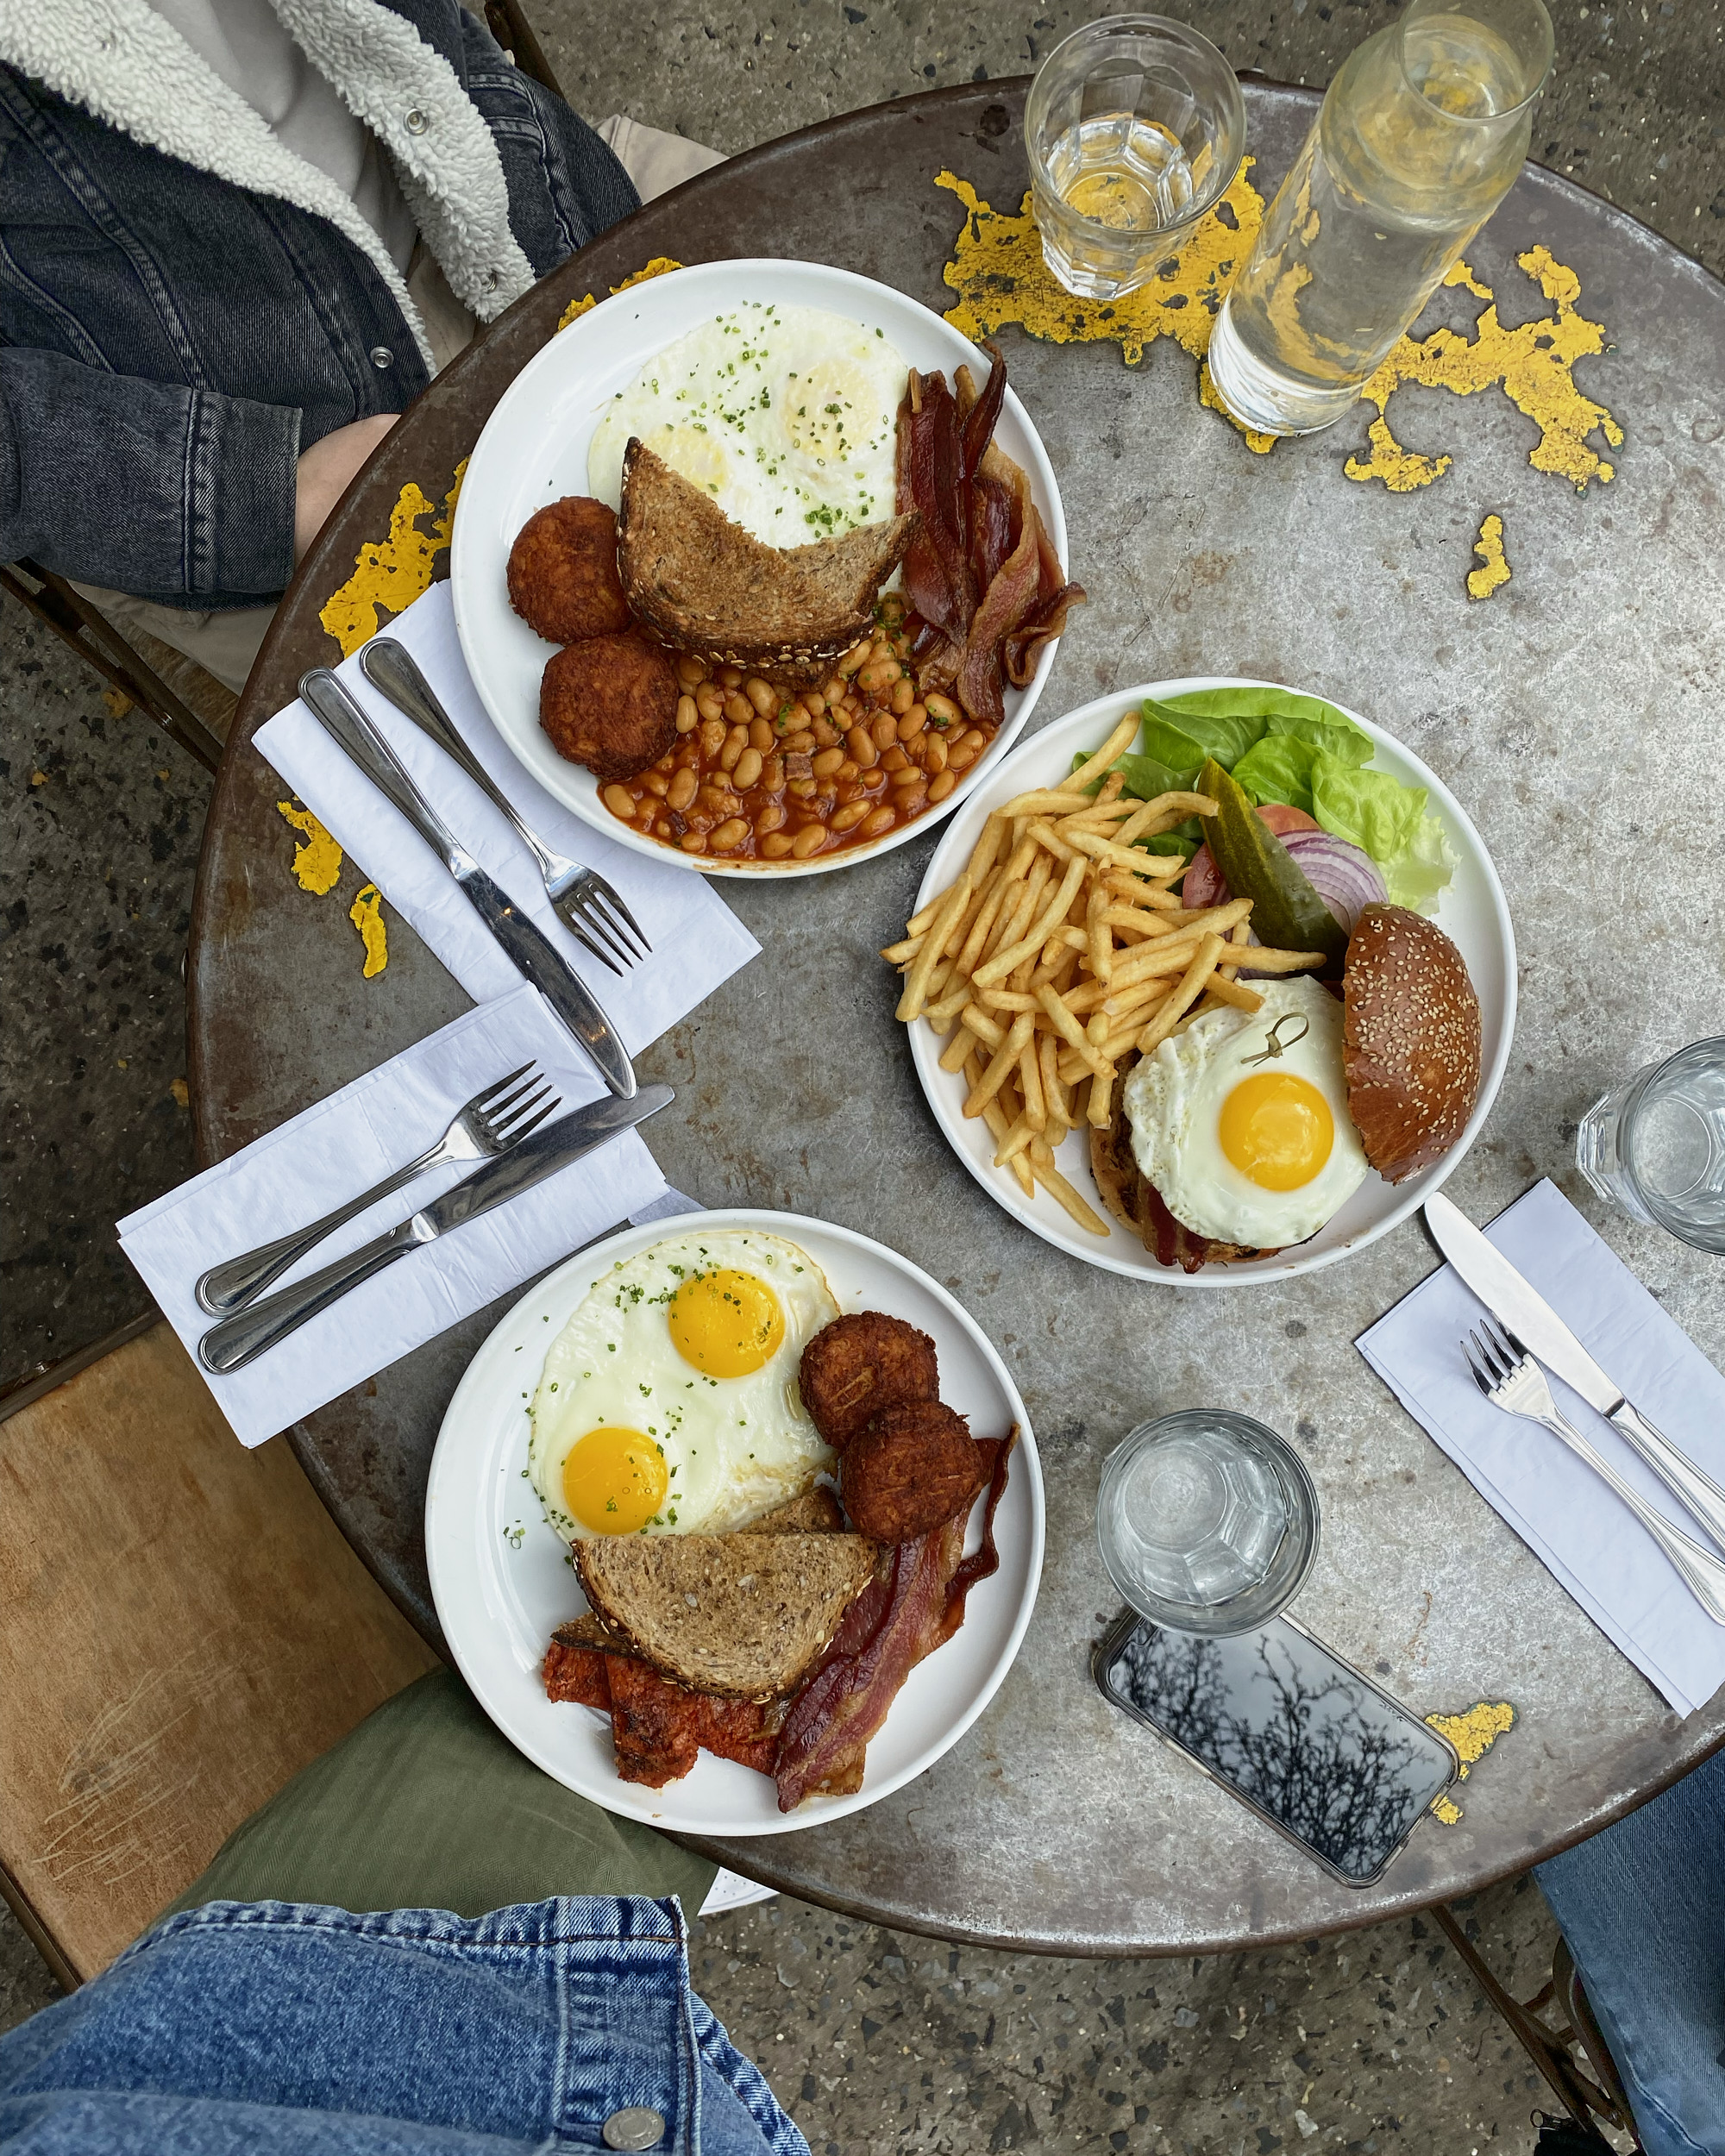
In challenging lighting conditions, Apple tries to do everything, preserve highlights and raise shadows, resulting in scenes that look a bit too HDR-ish, leading to lighting that feels flat.. The tones feel off in this photo, it was quite dark inside with bright sunlight beaming through this AirBNB. I do feel like most people would like this photo, as the subject is well-lit, but it doesn’t feel true to the scene.

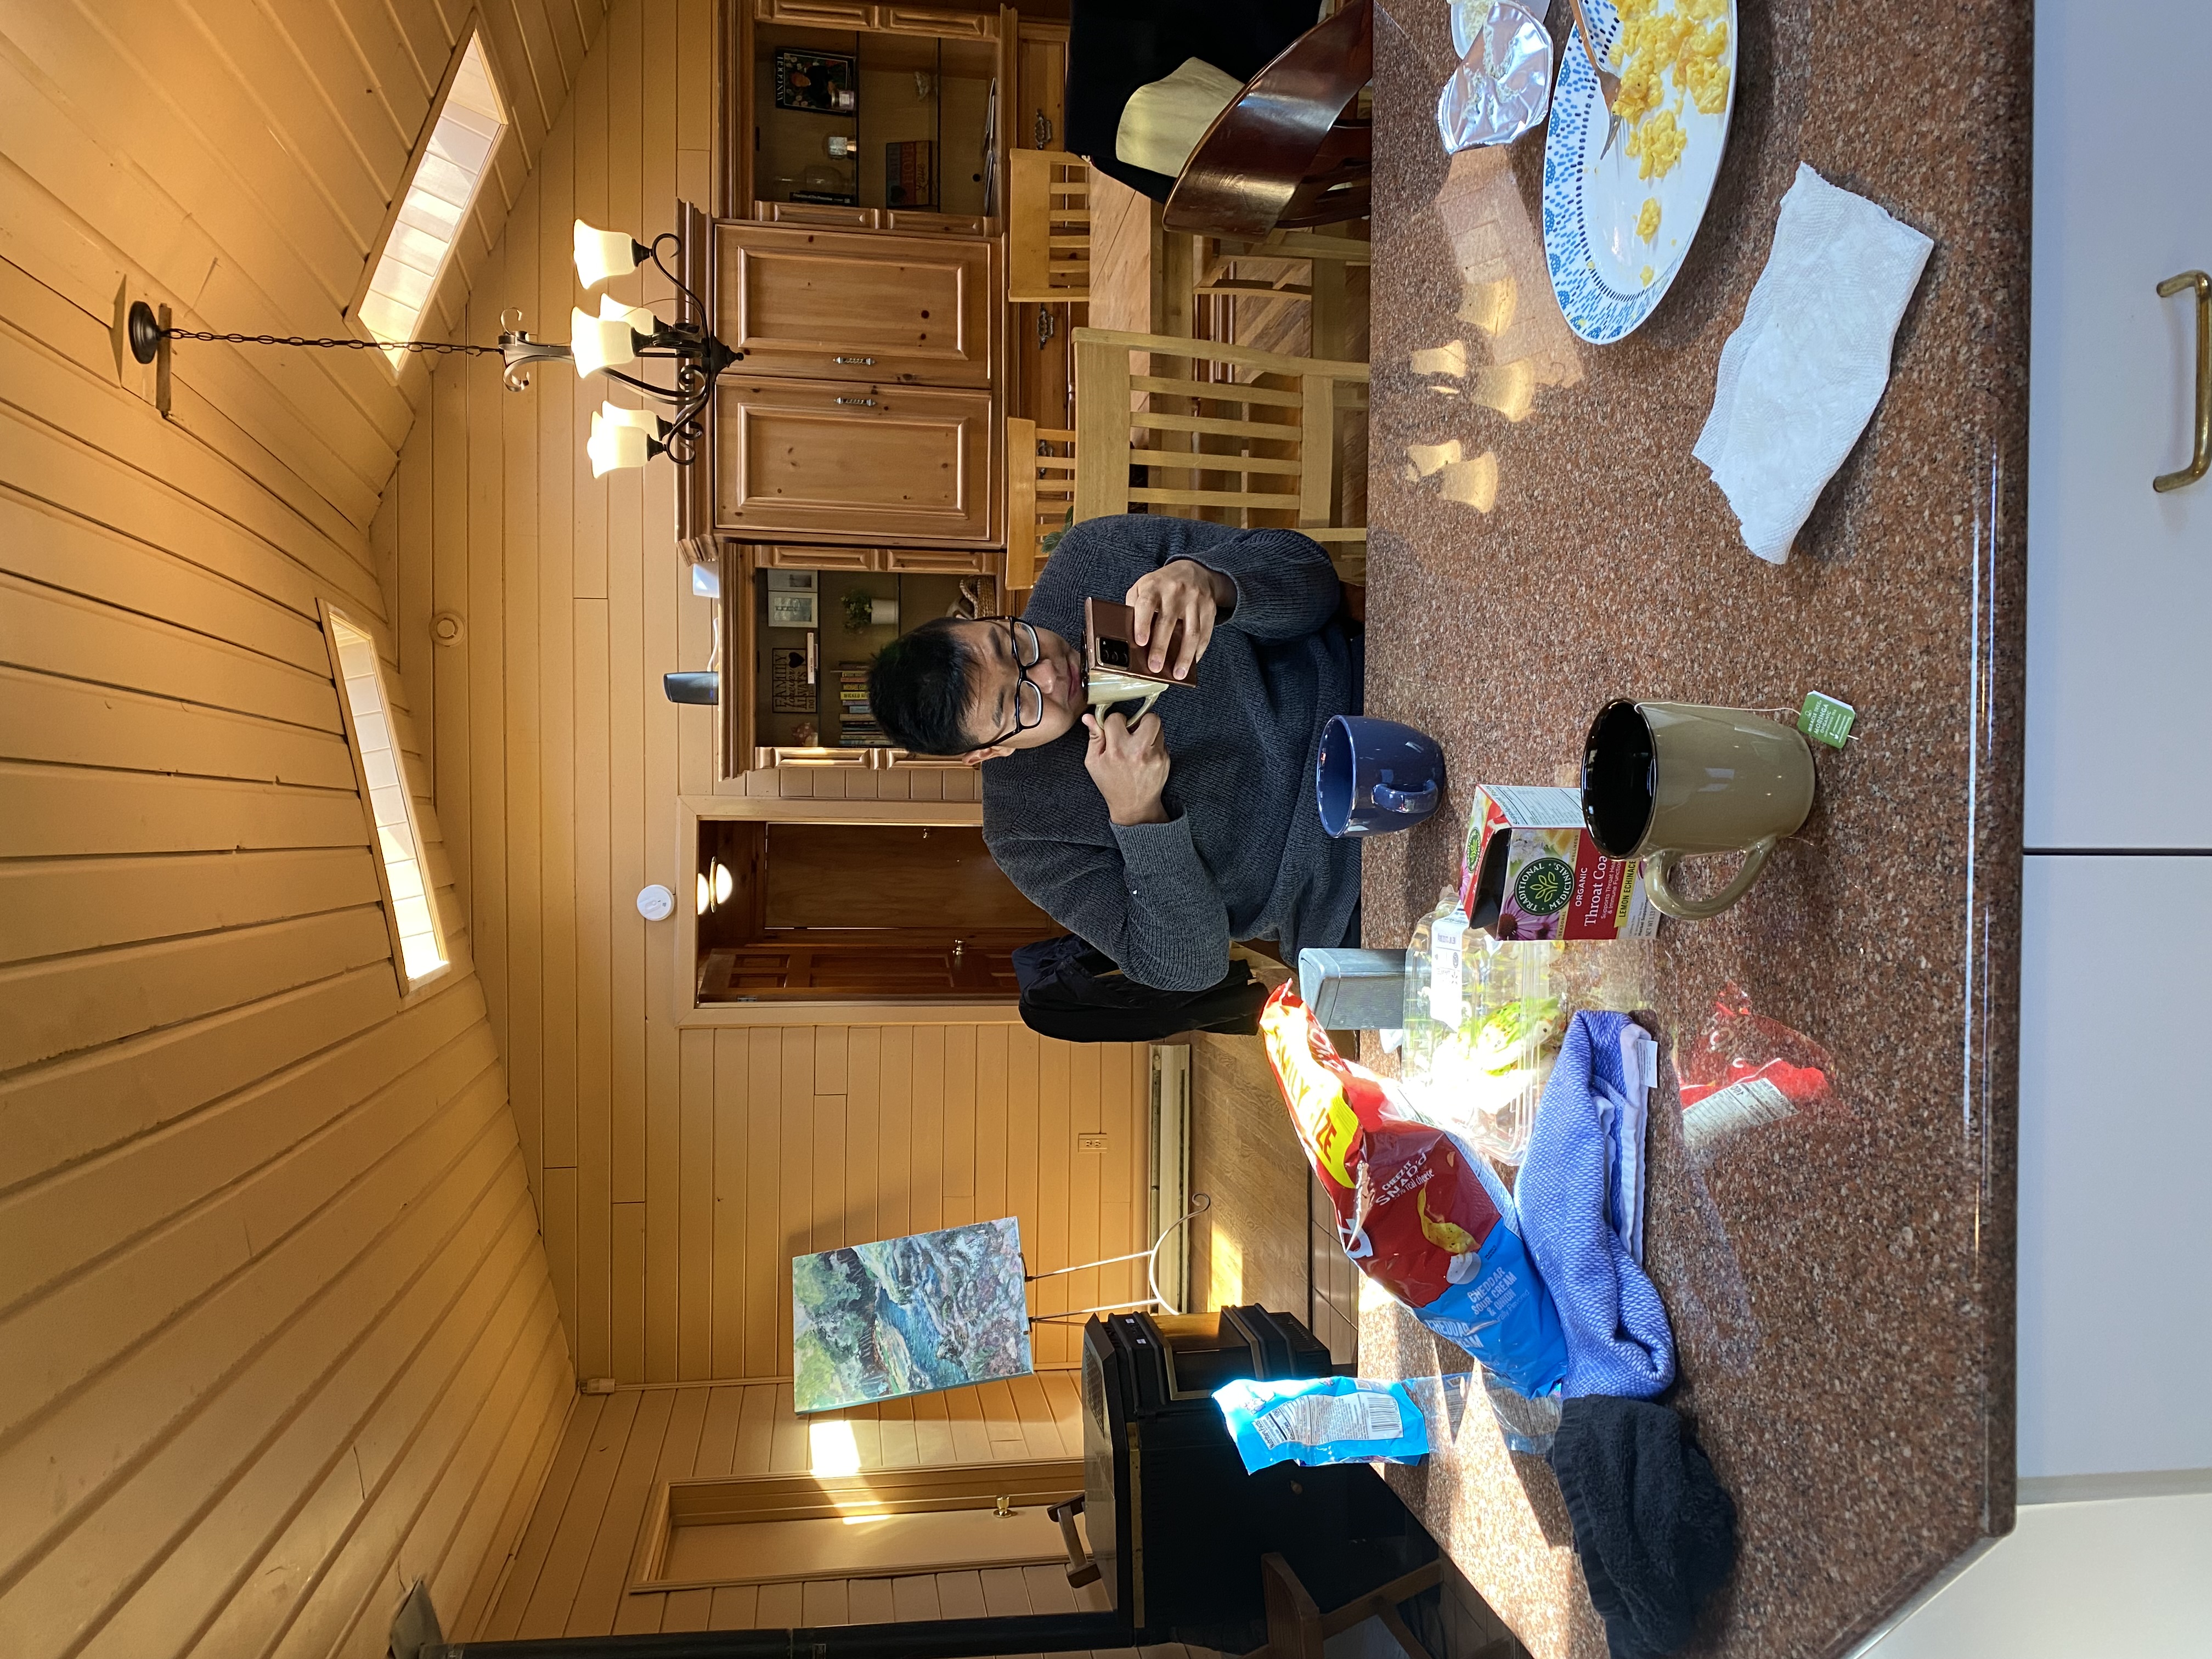
In really dark situations like seen here @ Radio City Music Hall, the Phone really makes the scene overly bright and adds lots of noise removal. Zoom in to see the massive amounts of noise reduction applied to the musicians in their seats!
Verdict:
Overall I’d give the SOOC shots an 8/10. Very usable, even when they’re not all to my taste.
Taking Pictures
There were two ways I took photos on this phone:
- Native Camera App
- Halide
Halide Mini Review:
Will likely cover Halide in another post, but the short of it is:
- Well Designed, beautiful typography
- Well Thought out Features
- Inconsistent Quality Throughout The Years
- Pricey
I’d give the app itself an 8.1/10, some really unique features (e.g. AI upscaling, instant RAW edits, waveforms), I think the design is one of the best out there, and the experience is quite delightful. But unless you’re serious about taking photos on a phone, I wouldn’t recommend it because of its subscription model.
On newer iPhones (such as the iPhone 15 Pro), you can shoot proRAW straight from the native camera app. You could only do this from the iPhone 12 series onward, and you can’t shoot regular RAW from this app, so you’ll need to download a third-party app to cover that.
Closing Thoughts
Cameras on Phones have officially gotten good. They’ve been good since around the iPhone 6S, and have only improved year after year. Whatever phone you have, iPhone or Android, don’t let the fact that you kept your other camera at home stop you from taking that shot. I haven’t owned a Pixel but I’ve seen what they’re capable of, Samsung phones too. They’re all really good. Some really interesting stuff has come out with Xiaomi and OnePlus, who are partnering with Leica and Hasselblad respectively. Hopefully one day in the future I get around to playing around with those phones so I can test out their capabilities firsthand.
Embrace the all-auto life with your phone, let the camera do the thinking for you, and trust in the algorithms. Or switch to Raw and edit them later. It’s important to study and understand the characteristics of your phone and its cameras to best use them. Experiment and see how you like the results of SOOC vs RAW in different conditions. Just as an example, in low light with this phone, I would shoot night mode vs RAW since high ISO performance means I’ll be happier with a final result with shooting in night mode.
Grow comfortable shooting with your phone, especially if it keeps you in a scene, or if a moment if fleeting.
https://www.nasdaq.com/articles/bite-of-the-big-apple:-iphone-secures-top-spot-in-2023-global-smartphone-shipments-beats ↩︎
Deep Fusion is one of Apple’s marketing terms for an algorithm that looks to preserve details in areas of high contrast, like sweaters. See: https://www.rittmuller.com/blog/2019/10/15/going-deep-fusion ↩︎